What Skylight Installation Involves
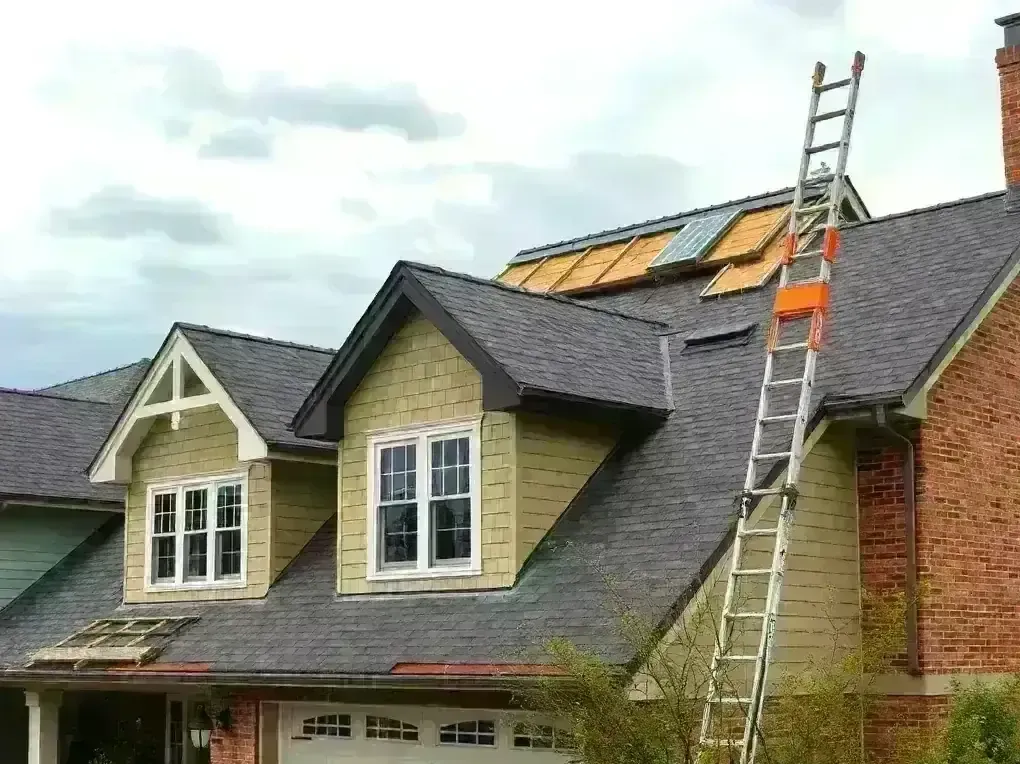
Denver Roofing Team opens the roof deck between two rafters, frames a curb, and rebuilds every layer above it so the opening sheds water the way the rest of the roof does. The curb and its flashing do the real work here.
We check whether the ceiling cavity can take the shaft before anything gets cut. If rafter spacing is tight we add framing, and if the decking is soft from an old leak the sheathing gets replaced first.
Above the curb, a continuous ice-and-water shield turns up both sides. Synthetic underlayment laps over it, step flashing is woven into the field course below the unit, and counter-flashing closes the top edge against the headwall.
Roofing Materials and Assemblies We Cut Into
The right curb height and flashing method depend on what your roof is made of. These are the assemblies we see most across the metro.
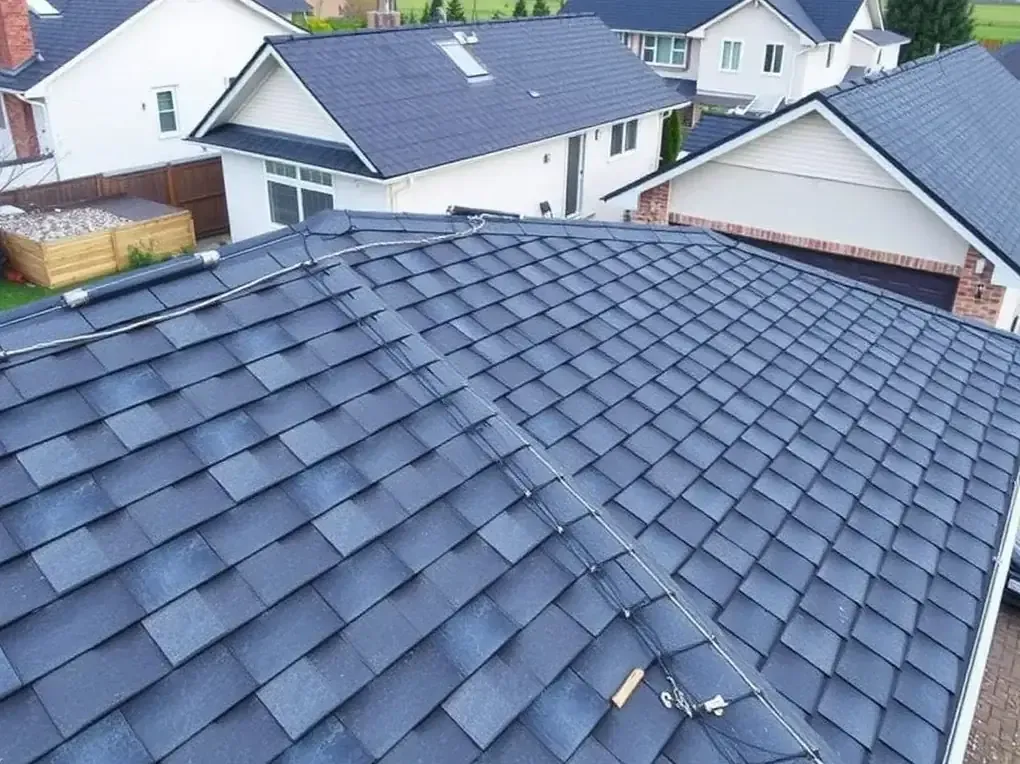
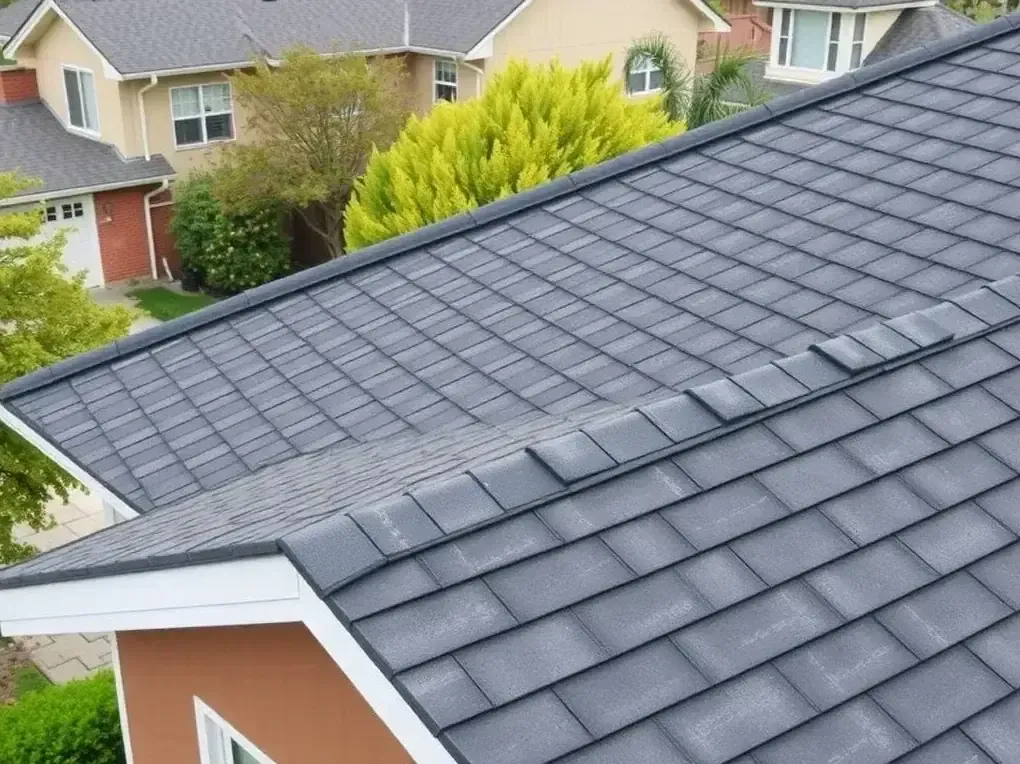
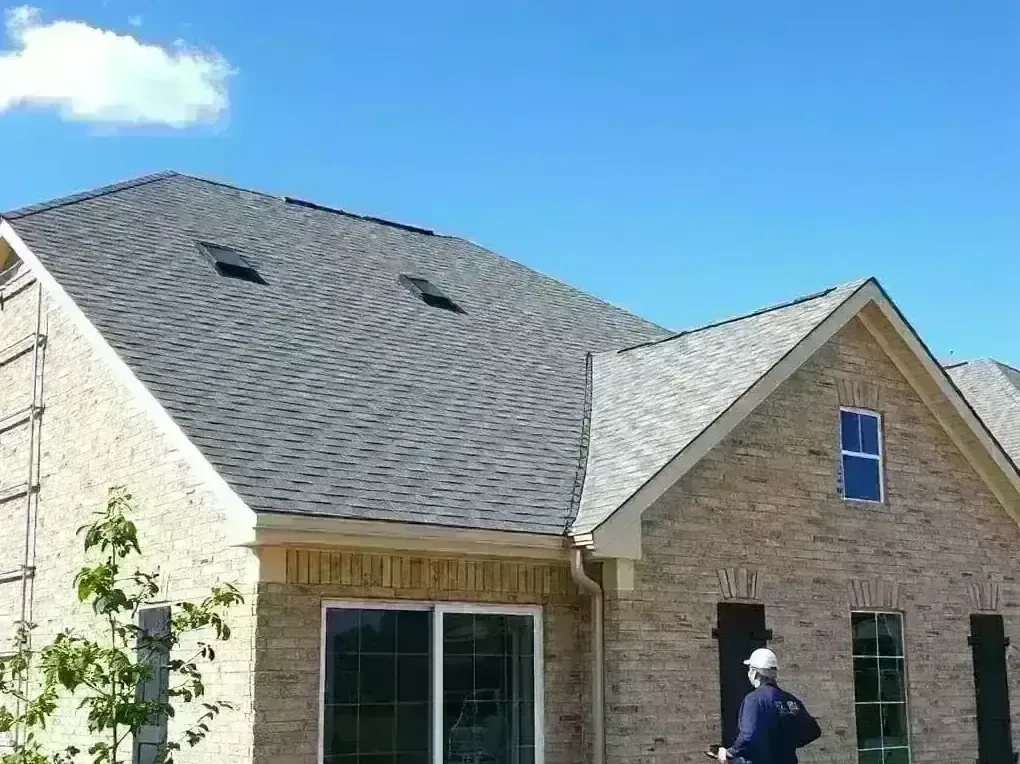
- Asphalt shingle roofs, including three-tab, architectural, and heavier laminated shingle, take a skylight well because step flashing can be laced into the field course and matched to the surrounding exposure.
- Wood shake and cedar shake roofs need a taller curb, since the shake sits uneven and traps water against a low frame.
- Slate, clay tile, and concrete tile are brittle underfoot, so we stage on scaffold and ladder rather than the rooftop and cut tile with a grinder instead of a pry bar.
- Metal panel, standing-seam panel, and corrugated panel roofs get a formed curb instead of surface mastic, because a standing seam moves with temperature and a smeared sealant bead peels off.
- Low-slope assemblies such as membrane, TPO, EPDM, PVC membrane, built-up roof over tar and bitumen, and modified bitumen take a prefabricated curb flashed with reinforcing fabric and a finish coat.
Parts of the Roof That Decide Whether It Leaks
A skylight is only as good as the layers around it. One skipped component shows up as a ceiling stain within a season or two.
- Roofing felt and tar paper are the old standards, and we use synthetic underlayment because it resists tearing while a crew works over it for a full day.
- Ice-and-water shield protects the eave and any valley below the opening, which is where an ice dam pushes meltwater sideways under the shingle.
- Flashing, step flashing, counter-flashing, and apron flashing each do a different job, and skipping one is how most skylight leaks begin.
- Drip edge, eave, soffit, fascia, and rake line the roof perimeter, and roofline continuity matters when the opening lands near a gable verge.
- Ridge, ridge cap, and ridge vent handle attic ventilation, and adding a skylight changes airflow enough that we check soffit vent and attic fan capacity.
- Chimney flashing, pipe flashing, and boot flashing each seal a different penetration, so a failed pipe boot or vent boot beside the unit is often the real leak.
- Gutter, downspout, and snow guard sit above and below the opening, and a snow guard keeps a sliding sheet off a metal panel from shearing the curb.
- Truss, rafter, joist, and ridge beam positions decide where the opening can go without cutting a load path.
- Purlin, batten, and counterbatten matter on metal and tile systems where the curb lands on horizontal framing.
- Substrate, decking, sheathing, plywood, and OSB all get checked for rot and moisture, since a soft deck will not hold a curb.
- Dormer, hip, gable, mansard, gambrel, and verge geometry limit placement, and a parapet with a scupper and coping on a flat section changes how we terminate the flashing.
- Canopy, awning, and overhang areas over a porch sometimes work better than the main roof plane, especially when the interior ceiling is vaulted.
Our Skylight Installation Process
The job runs in a fixed order, and each step has to pass before the next one starts.
- Roof inspection and attic check: we measure the rafter bays, test moisture in the decking, and confirm the shaft will not cut a load path.
- Written roof estimate: the line-item estimate lists the unit, curb framing, flashing, underlayment, permit, and debris hauling, with nothing buried in an allowance.
- Permit and building code review: most Denver-area jurisdictions require a permit, and the opening has to meet code for safety glazing.
- Tear-off: we strip shingle, felt, and any compromised sheathing around the opening into a dumpster rather than dropping it in the yard.
- Curb framing and substrate repair: new framing goes in, the substrate gets a plywood or OSB patch, and the curb is squared to the ridge.
- Waterproofing and flashing: ice-and-water shield wraps the curb, underlayment laps over it, and step flashing plus counter-flashing close the perimeter.
- Unit set and finish: the skylight is fastened down, the shaft is insulated behind a vapor barrier, and we run a final weatherproofing check before sweeping for every nail, fastener, and screw.
We stage with scaffold and ladder, tie off on a safety harness and anchor, and keep a roofing square to lay the curb out true. A nail gun and air compressor drive ring-shank nails, while a pry bar and roofing shovel handle the tear-off.
A torch is reserved for modified bitumen details where the manufacturer calls for heat welding, never near dry sheathing. Caulk, adhesive, mastic, and roof cement have narrow uses, and a formed flashing bead beats a smeared coating every time. A properly flashed curb is waterproof; a caulked one is not.
Cost, Warranty, and Insurance
Cost depends on the unit, the roof assembly, and how much framing the opening needs. A fixed skylight on asphalt shingle sits at the low end, and a vented unit over tile or a new curb on a membrane roof runs higher.
Most homeowners land between roughly $1,200 and $3,500 installed, including the unit, curb framing, flashing, the permit, and haul-away. Solar-powered blinds or a second unit add to that.
- Curb height and framing: a tall curb on a low-slope roof costs more than a standard curb on a shingle field.
- Roof assembly: cutting into slate, clay tile, or concrete tile takes longer than cutting into three-tab shingle.
- Interior finish: a vaulted ceiling with no attic access costs more to work around than a flat ceiling with a clear shaft.
- Access and pitch: a steep roof that needs scaffold and a ladder lift adds labor.
- Unit type: fixed skylights, vented skylights, solar-powered blinds, and sun tunnels each price differently.
The unit carries its own manufacturer warranty, and we register it so the paperwork is not in a drawer when you need it. Labor and flashing fall under our written workmanship warranty.
If hail or wind damaged the surrounding roof, the skylight flashing is usually part of the same insurance claim. We photograph the damage, meet the adjuster on the roof, and supply a line-item estimate that matches the carrier's scope.
We are licensed and insured, and we pull the permit before the first shingle comes off. A roofer who quotes a skylight without mentioning flashing is quoting half a job.
Signs Your Skylight Needs Attention
Most failed skylights announce themselves months before the ceiling stains. Water wicks along the decking, soaks the insulation, and surfaces somewhere other than directly under the unit.
- Brown rings or bubbling paint near the shaft usually mean water is wicking along the sheathing from a failed flashing bead.
- Daylight around the frame trim means sealant has peeled or the curb has settled, and the gap widens with the next freeze.
- Condensation on the glass every morning points to a failed thermal seal or a shaft that was never insulated properly.
- Granule loss in the gutter below the unit signals end-of-life wear on the surrounding shingle, and re-flashing over it is a short-term fix.
- Ice dams building above the curb force meltwater sideways under the shingle, which is the most common winter leak we find.
- Soft or spongy decking around the opening means rot has reached the sheathing, and it has to be replaced before we flash.
Why Homeowners Call Denver Roofing Team
At 5,280 feet, ultraviolet radiation dries out sealant and cracks a cheap acrylic dome within a few seasons, so we fit laminated glass units with a proper flashing kit.
Denver's temperature swings do the rest. A 60-degree afternoon and a 20-degree night can flex a curb enough to open a bead that looked fine in July, which is why every opening gets ice-and-water shield turned up the sides.
We work Capitol Hill, Five Points, Cherry Creek, Washington Park, and Highland, cutting into Victorian-era bungalows, post-war split-levels, and mid-century brick ranches alike.
We install VELUX and Solatube units and can order either to match your ceiling. Most jobs finish in a single day, and two when decking repair is involved.
Questions Homeowners Ask First
How long does a skylight take to install?
A single fixed unit on a shingle roof is usually a one-day job, weather permitting. Rain, snow, or a roof that needs decking repair can push it to two.
Will a skylight leak?
Not if the curb and flashing are right. Leaks come from smeared sealant and skipped step flashing, and both fail within a few freeze-thaw cycles.
Can a roofing contractor install one on a metal roof?
Yes. Metal panel and standing-seam roofs get a formed curb rather than a surface bead, because the panels move with temperature and a rigid seal peels.
Do I need a permit, and is a sun tunnel easier?
Most Denver-area jurisdictions require a permit, and the opening has to meet building code for safety glazing. A sun tunnel skips most of the framing and needs only a small roof penetration.
Signs You Need Skylight Installation
Ceiling Stain Beside the Shaft
A brown ring or bubbling paint near the skylight usually means water is wicking along the roof deck from a flashing bead that has failed. Denver's sudden temperature swings open those beads faster than most people expect.
Daylight Around the Frame
If you can see light at the interior trim, the sealant has peeled or the curb has settled. That gap widens with every freeze-thaw cycle and will not close on its own.
Granules in the Gutter
Granule loss below the skylight points to end-of-life wear in the surrounding shingle. Flashing over shingles that are already shedding granules buys you a season at most.
Ice Dams Above the Curb
Marble-sized hail followed by heavy snow and a warm afternoon pushes meltwater sideways under the shingle. That is the most common winter leak we find at a skylight.
Dark Decking in the Attic
Dark streaks or a soft spot on the sheathing under the opening mean water has been reaching the insulation for a while, and the decking may need replacing before anything else.
Chalking or Cracking Glazing
Intense UV radiation at this altitude dries out older acrylic domes until they chalk and crack. Laminated glass holds up far better in Denver's sun.
What's Included
- ✓ A free roof inspection with photos of the decking, flashing, and any moisture damage around the opening
- ✓ A written, line-item estimate covering the unit, curb framing, flashing, permit, and debris hauling
- ✓ A permit pulled and inspected so the opening meets building code for safety glazing
- ✓ A new curb framed, sheathed, and wrapped in ice-and-water shield before underlayment or shingle goes back down
- ✓ Step flashing and counter-flashing woven into the surrounding courses, never a surface bead of mastic
- ✓ Manufacturer warranty registration on the unit plus our written workmanship warranty
- ✓ Cleanup with a magnetic sweep so no nail, screw, or fastener is left in the yard or the gutter
Related Services
Ready to get started? Call us today at 7207840657 for a free estimate.
☎ Call 7207840657